Posts

Showing posts with the label Guest Designer

Jaded Blossom: Release Day 4
Image
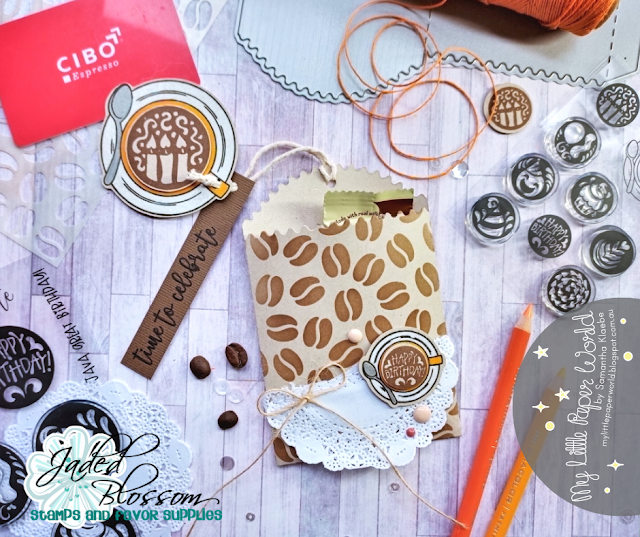
Hello! Welcome to Day 4 of the sneak peeks of the Jaded Blossom July 2020 Release!! Seriously, I've had such a great creative week guest designing for Jaded Blossom. Here is my crafty project using Mini Birthday Coffee Art! This is a freebie currently available with the July stamp release! I paired the new stamp set with the new release Stencil:  Coffee Bean  and Jaded Blossoms fun Paper Bag die. I also added the images from the Birthday Art Stamp set which goes with the  Coffee Art Stamp  which also has a new release outline die. Check out the Jaded Blossom blog for some great sneak peeks and new release stamp, die and stencil information! Happy Crafting! Samantha
Jaded Blossom: Release Day 3

Image
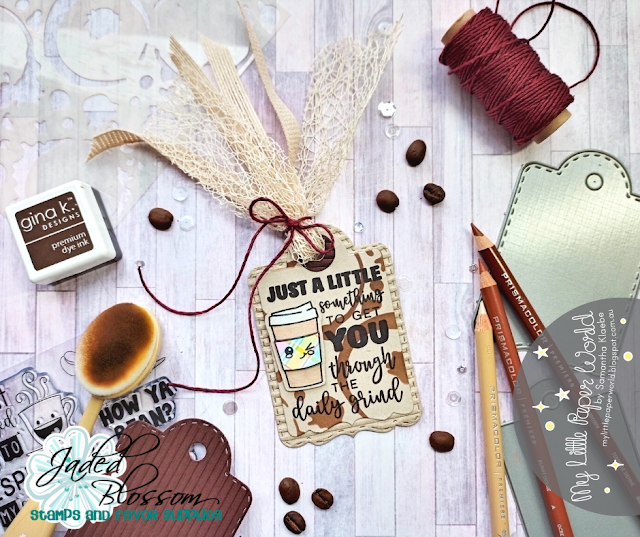
Happy Wednesday! Today is Day 3 of Jaded Blossom's July Stamp Release! Here is a fun Tag I made using the new stamp set Coffee Tags . I first die cut the Treat Tag Bag  using Kraft card and corrugated paper. I then used the Coffee Stain stencil and blended brown ink in to the tag. After this, I stamped the Coffee Tag image onto the tag. I then stamped and fussy cut the coffee cup image and coloured it in with Prisma Color Pencils and I also added some paper piecing detail. I adhered this to the card with foam tape. Lastly, I gather ribbon around the top of the tag and secured with a bow twine. Jaded Blossom's July 2020 Release will include: 6 -  4 x 6 Stamp Sets 2  - New Dies 2  - New Stencils  1  - 3x4 Freebie Stamp There is also a GREAT gotta have it now deal you won't want to miss!!! Check out the details here along with some great inspiration from the Jaded Blossom design team. Happy Crafting! Samanth...

Jaded Blossom: Release Day 2

Image
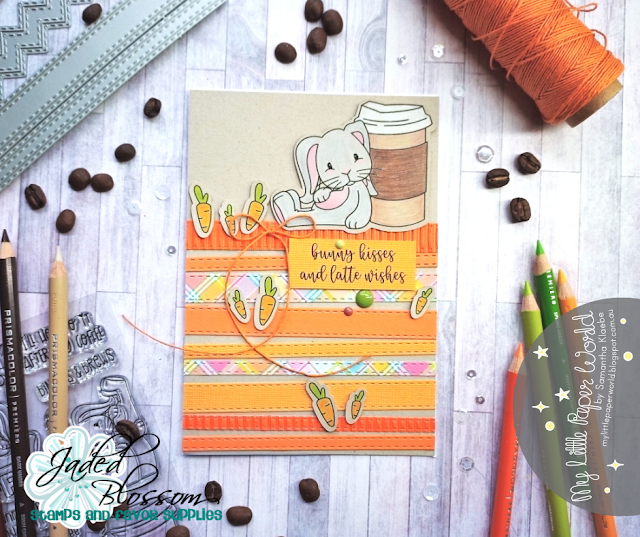
Here we are Day 2 of Jaded Blossoms July release! I was super excited to play around with this stamp set - could't resist making a card with the latest Somebunny Needs Coffee stamp ! I first created my background using the background die. I thought that orange would be a great colour to work into this card. The strips were die cut out and adhered to my A6 card front. The bunny and carrot images were stamped and cut out with my Silhouette Cameo. I used Prisma pencils to colour in all the images and then stamped the sentiment on orange card. Next, I adhered all the images onto the card front. I embellished the card with the carrots, enamel dots and a twine bow. I adore this bunny - it's like he is sitting there full on coffee and carrots (in cake form I'd totally have both!). Check out Day 2 July release on the  Jaded Blossom  blog for more release stamps and inspiration!   Happy Crafting! Samantha

Jaded Blossom: Release Day 1

Image
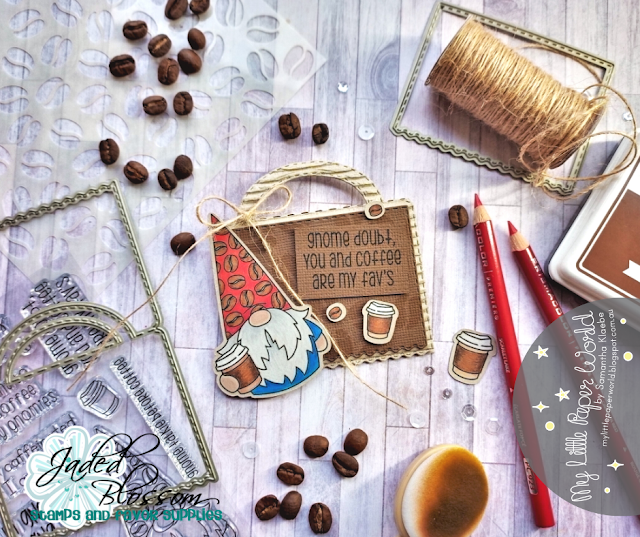
Today is Release Day 1 for Jaded Blossom ! Here is my project using a previously release die Ric Rac Topper Die  and one of July's latest released stamp Gnome Brewed . You can faintly see I used the new  Coffee Bean Stencil  to create my background on the Ric Rac Topper die. I stamped the gnome and used my Silhouette Cameo to cut him out. I coloured him in with Prisma colored pencils and used foam tape to adhere him to the Ric Rac Topper. I embellished it with a few of the extra images in the stamp set and a twine bow. This is a fun Topper to add to a gifted bag of coffee beans. The  Ric Rac Topper Die is one of my favourite Jaded Blossom dies. It goes wonderfully with the new release too! Jaded Blossom is revealing 2 new dies and 2 new stamp sets today - check out the blog - here . Don't forget to come back tomorrow for Day 2 Jaded Blossom July release day. Happy Crafting! Samantha

Jaded Blossom: July Challenge

Image
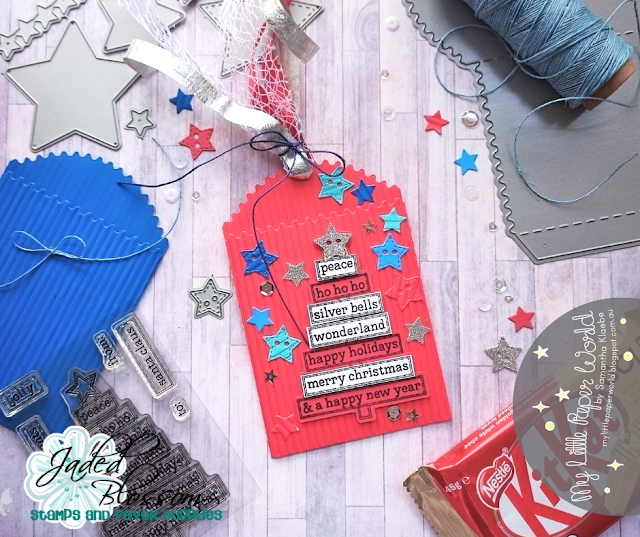
It's a new month and a new challenge over at Jaded Blossom! Here is my take on their Colour Challenge: Red, White & Blue. I went with a Christmas (for July) Paper Bag tag using Jaded Blossoms Oh Christmas Tree stamp. For more details check out their blog: Jaded Blossom Blog Color Challenge  Red White Blue Challenge Guidelines:  1) Project must be new for this challenge, no back linking 2) Project must have a Jaded Blossom stamp or die somewhere on it.  3) Only one entry per person 4) Link it up below by Saturday, 08/01/2020 11:59 pm PST Prize: This month's prize for a randomly selected winner is: I am guest designing this month and super excited to share more projects with their July release. Check back in tomorrow! Happy Crafting! Samantha 

Jillibean Soup: Guest Designer - Bohemian Brew

Image
Life sometimes gets so crazy - I've only realise there's quite a few cards made in July that are just now being shared on my blog. Last month I guest designed for Jillibean Soup. I love their stamp and die sets especially their shaker sets - but in my lovely guest design pack I was given a whole collection! Here are a few cards I created using Bohemian Brew. I fell in love with the patterns in this 12x12 paper. I normally don't use cardstock this big - but it was perfect to use as a background for each of the cards I created. I simple cut them into strips and arranged them on my card front before adding stitched details to my card. I used up most of the empherema in the Bohemian Brew pack and also added a few stickers to create focal points and interest on my card/s. I finished each card off with sequins and a twine bow. Here are a few more cards I created using this collections. I had such a fun month in July creating these cards! Thank ...

Jillibean Soup: Guest Designer - Oceans of Joy

Image
Hello! Welcome! Last month I guest designed for Jillibean Soup - you can view all the cards I created on their original post here on their blog. Over the next few days I will share what I've created on my blog and on Instagram: My Little Paper World .  Here is my first card using Jillibean Soup - Octopus stamp and die set. I used crepe paper to create my background along with the background wave stamp in this set. I also added machine stitched details and embellished the card with Jillibean Soup sequins. This card came together quite quickly because I used coloured card stock to die cut the stamped images.  I finished the card by adding a twine bow and applying glossy accents to the stamped out bubbles. This stamp set is small but it has some great sentiments to go along with these cute images. I stamped 'Wishing You Oceans of Joy' to the bottom right of my card in black ink. The die-cut images are adhered to my card front with foam tape. I love how the ...

The Cut Shoppe: Guest Designer Part. 2

Image
Today I am back sharing my second set of cards I created as guest designer for The Cut Shoppe. Here is the first of two cards using the cut file Flutterby . I've seen these beautiful butterflies used on so many scrapbook pages - I wanted to challenge myself and see if they could be re-sized in a way to fit on a card. I knew the whole butterfly circle wouldn't fit on my card - so once I had re-sized it to a suitable size I selected areas that would be featured on the card. I managed to get five butterflies on my 5 x 7 inch card and used bright coloured card and vellum to add colour and dimension to the butterflies. Both cards have machine stitched details and have been embellished with sequins and a twine bow. The sentiment is from Elizabeth Craft Designs: General Sentiments stamp set. Here is my second card: Hope you enjoyed my guest featured cards for The Cut Shoppe - Thank you Ashley for the invitation to create with you cut files.  Ha...

The Cut Shoppe: Guest Designer

Image
Hello! Today I'm guest designing for The Cut Shoppe! I was a little nervous when Ashley invited me to guest design using her cut files. I LOVE my silhouette but aside from using it to cut out stamped images I hardly use it to it's full potential!  Here are my first cards using Summer Vibes . For this card I decided I wanted to pair the Summer Vibes cut out with Silk Microifine Glitter and sentiments from Elizabeth Craft Designs: Beach Sentiments.   I certainly loved the challenge of putting these two products together. The card stock I like to use is quite think, adding the double sided tape to specific areas of the pineapple meant I had to take this into account when adjusting my cut settings. For this I put my blade up to 9 (keep in mind I'm probably due to replace it!) and used the double cut feature. Once I was happy with my cut settings I was able to cut my resized pineapples and use a burnishing technique to add the silk microfine glitter to whe...

Jaded Blossom: You Stole My Heart

Image
Hello – I've been guest designing for Jaded Blossom! I’ve had such a wonderful month creating cards and party favours using the new June release! What a GREAT release too – I thought it only fitting to use the Birthday Bandit stamp (since it was the last of the release stamps I hadn't used yet!) along with some of my favourite Jaded Blossom dies to create this fun card. Here it is! This card took a little planning – but I wanted to create a fun background using the Alphabet dies. It’s probably difficult to see – but after ink blending the letters and adhering them to my card base, I machine stitched lines in the shape of clouds. I wanted to keep the background light because I knew I wanted to add the balloons and the coloured image…I also knew there would be a LOT of pink… I used Copic Markers to colour both the bin and racoon. I’ve listed the Copic colours below in the supplies list. Supplies: Birthday Bandit Alphabet Dies Balloon Dies Other: Sewin...